
automotive parts mould
Auto parts moulds are made through a complex process involving multiple steps. Here is a general overview of how an auto parts mould is made:
Designing the mould: The first step in making an auto parts mould is designing it. This is typically done using computer-aided design (CAD) software, which allows engineers to create a digital 3D model of the mould.
Creating a prototype: Once the design is finalized, a prototype mould is created. This is typically made using CNC (computer numerical control) machines, which use computer-controlled cutting tools to create the mould from a block of steel.
Testing the prototype: The prototype mould is then tested to ensure that it produces parts that meet the required specifications. If adjustments need to be made, the design is revised and a new prototype mould is created.
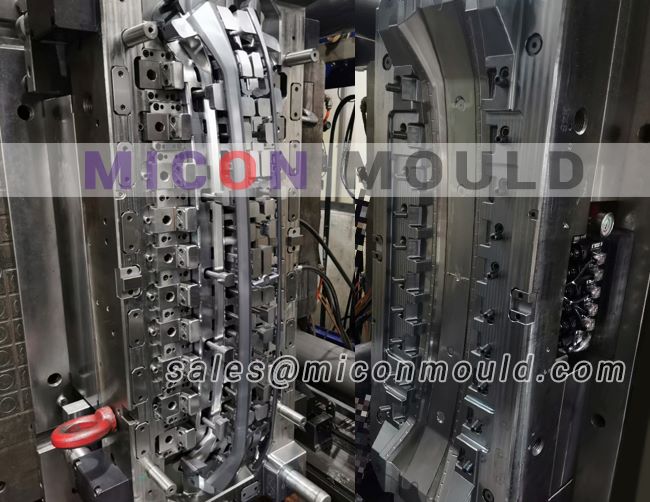
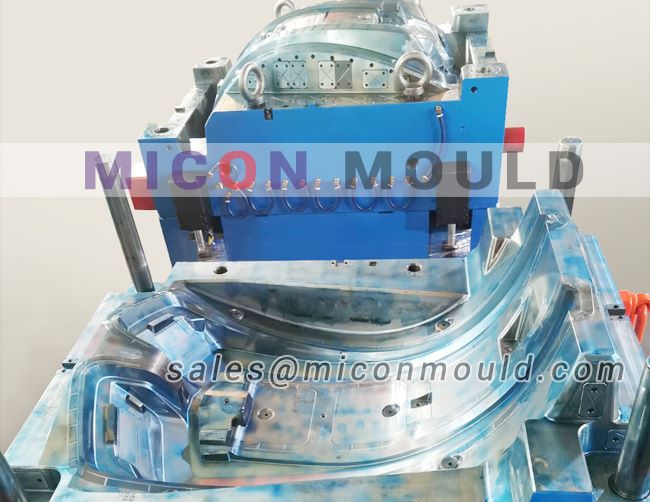
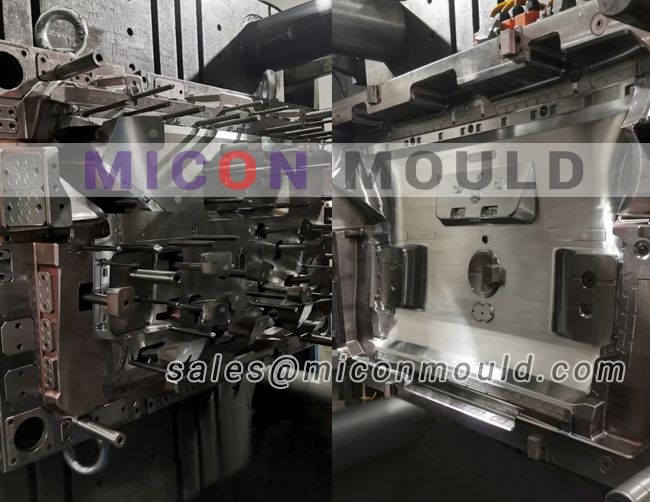
Manufacturing the mould: Once the prototype mould is finalized, the actual mould can be manufactured. This involves creating a series of cavities and channels within a block of steel that will allow the molten material to flow into the mould and form the desired part.
Finishing the mould: After the mould is manufactured, it undergoes a series of finishing processes to ensure that the surface is smooth and free of imperfections that could affect the quality of the parts produced.
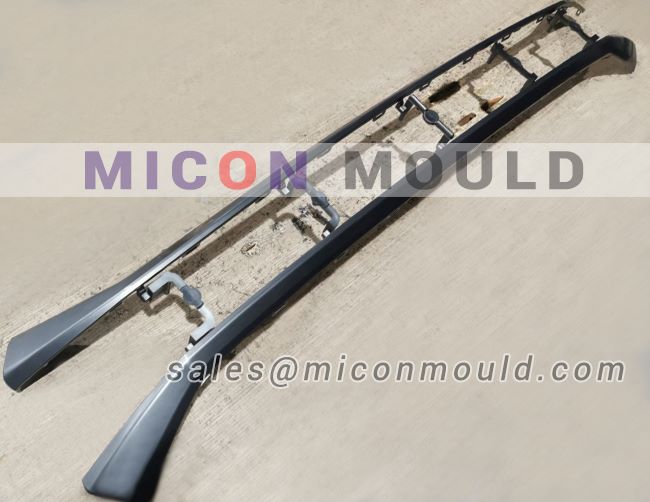
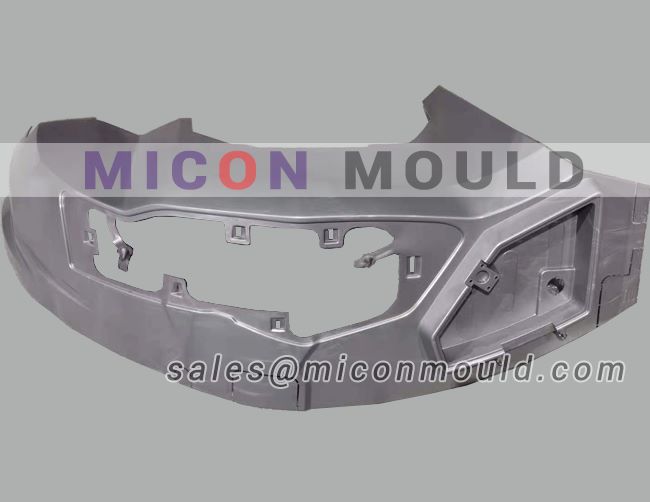
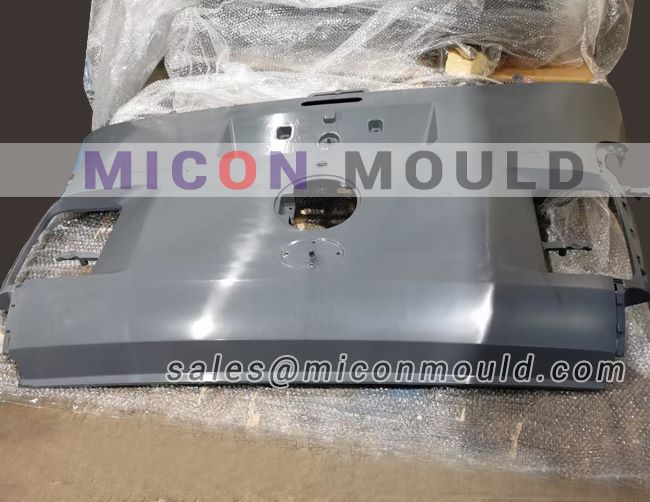
Installing the mould: Once the mould is finished, it is installed into a moulding machine. The moulding machine injects molten material into the mould, which then cools and solidifies to form the desired auto part.
Quality control: After the part is moulded, it undergoes a series of quality control checks to ensure that it meets the required specifications. If any issues are identified, the mould may need to be adjusted or repaired before further production can take place.
Overall, making an auto parts mould is a complex and precise process that requires careful planning, design, and execution to produce high-quality parts.